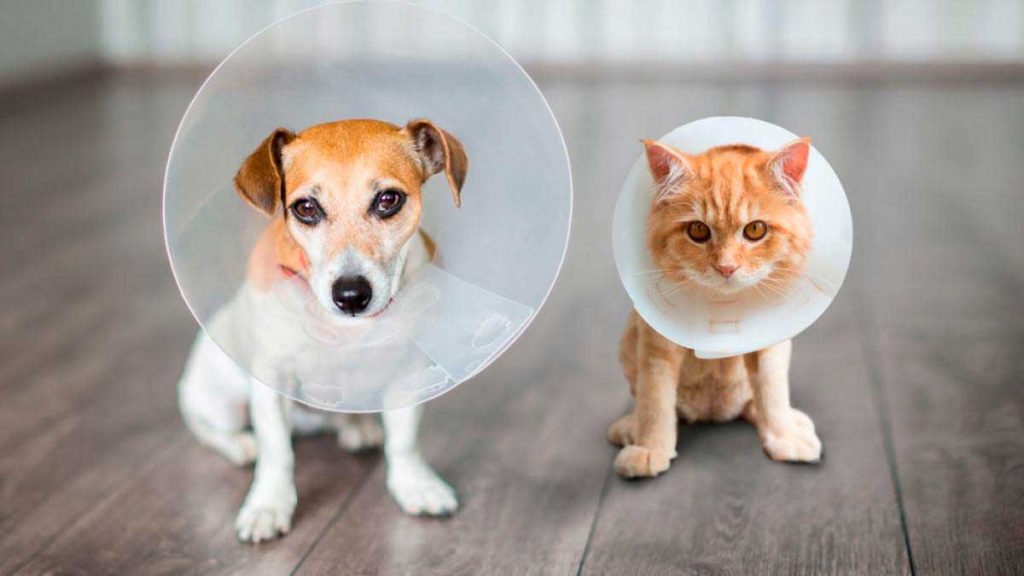
Many people may be a little surprised by this term since not many are familiar with the name of this type of collar , as it refers to the cones used for both cats and dogs.
Elizabethan collars are cones placed around the necks of pets to prevent contact with the rest of their body, either after an operation or simply if they have a wound to help it heal faster.
Of course, the size of this type of accessory will depend on the size of the pet , since if they are small, then the collar should be a little small so that it does not come off when walking and fulfills its function correctly.
When the use of this type of collar is indicated , there is no need to panic, since if you don't have one, you can make one at home.
Step 1.- Gather all the materials you will need
The materials to be used should be located : duplex cardboard or thick cardstock, scissors, a ruler, pencil and tape.
Step 2.- Take the measurements of your pet's neck for the collar
The neck of the animal in question must be measured to determine its thickness, and also from the base of the neck to the tip of the snout to ensure that it will cover it completely.
Step 3.- Transfer these measurements to the cardboard or cardboard
The size of the pet's neck is then marked on the cardboard or card.
Step 4.- Leave a few centimeters more than the original size
It is advisable to leave a few extra centimeters in case there is any error in the measurement.
Step 5.- Cut the cardboard in the shape of a donut or ring
The cardboard should be cut into a donut shape, taking into account the neck measurement and the length.
Step 6.- Cut the ends and join them in a cone shape to make the necklace
Once cut, simply join the ends to fit the animal's neck
Step 7.- Join the ends with adhesive tape
The edges can be taped to test that it fits comfortably on the pet.
Step 8.- Cut the edges of the Elizabethan collar for the comfort of the pets
Once it's ready, you can trim the edges so pets can eat or drink water without any problems.
It is important to correctly determine the width of the neck so that the collar cannot easily slip off, but also not so tight that it hurts them, as this is counterproductive.
When using these types of collars, it is important to be clear about the recommended time period for wearing them , and we must also be aware that it will be annoying for quadrupeds to wear it and they will probably try to take it off.
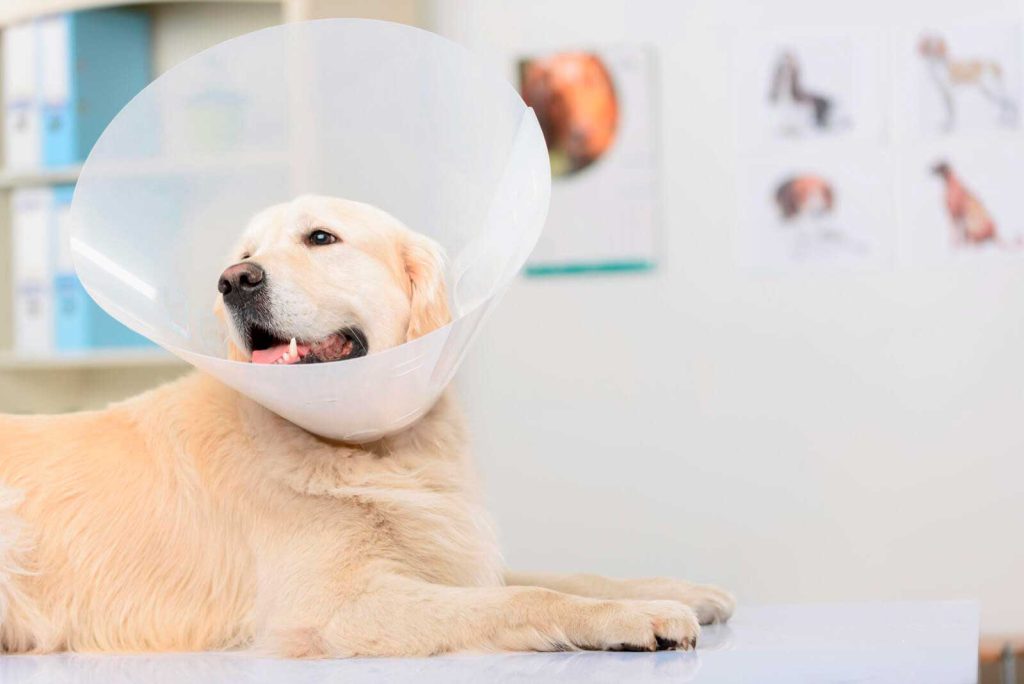
How to Make a Dog Collar?
When dogs are instructed to use this type of collar, it is important that once it is put on, it is not removed, as they can live their normal life with this type of accessory because they are designed to allow them to eat.
Of course, not in the same way they would without it, but it doesn't prevent them from carrying out any actions they need to do on a daily basis. At this point, it's important to be clear that many times we, as owners, play an important role in making the situation more bearable for our furry friends.
These collars can be uncomfortable, but as the hours pass, they get used to wearing them. That's why it's not recommended under any circumstances to remove the collar for specific activities.
Materials can be sought to make wearing these necklaces a little more comfortable ; among them we can find;
The materials to use;
- It can make with cardboard and inside place something padded
- The base of the cone can be cardboard and cover it with pillow stuffing to cover them later
- In the part of the neck you can put rubber foam or even adapt a pillow
Of course, you can also buy collars in pet accessory stores that offer greater comfort , but you can also think about how to make them more comfortable for your beloved pets if you already have one at home.
Now that we have all this clear , how can we make an Elizabethan collar for dogs?
Step 1.- Choose a resistant material to make the necklace
Choose materials that can be washed without being damaged. It must have a somewhat rigid structure
Step 2.- X-ray plates are an excellent option
You must select the material of your choice (cardboard, cardstock, and even an X-ray film can be used)
Step 3.- Take the measurements of the dog and transfer them to the selected material
Next, measure the circumference of the animal's neck . Measure the length from the neck to the snout and then mark those centimeters on the chosen material.
Step 4.- Cut in the shape of a ring and form a cone-shaped necklace
Once done, it should be cut into a circular shape, as the aim is to make a kind of cone.
Step 5.- Seal the edges with tape or glue
The ends that allow the cone to close can be joined with tape or glue.
Step 6.- Cover the edges of the necklace
A little fabric can be placed on the edge of the neck to make it more comfortable.
Regarding the material, it is important to consider the length of time the pet will use it and, if necessary, make more than one.
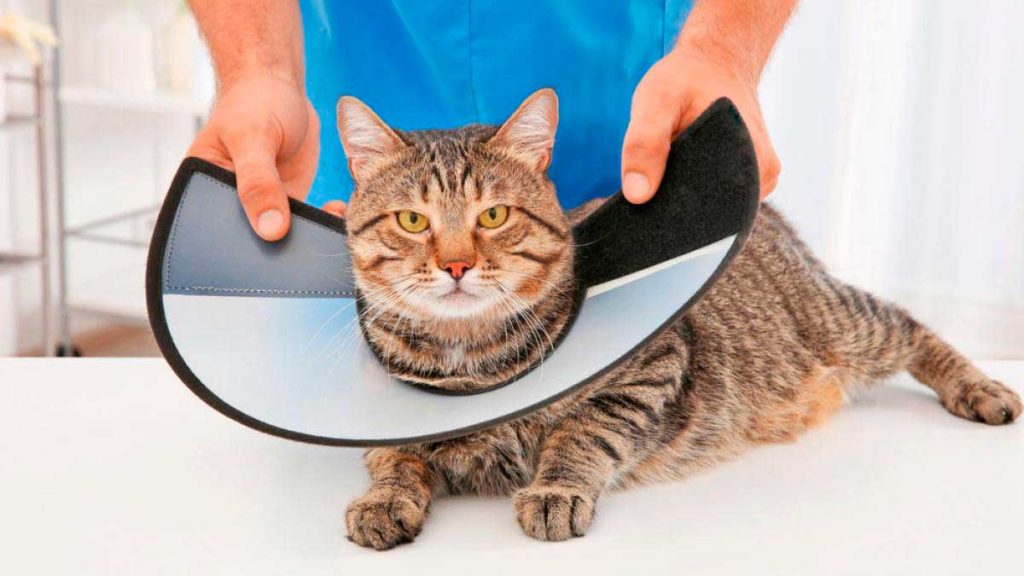
How to Make a Collar for Cats?
When dealing with felines, the situation can be a little more difficult since they are naturally prone to aggression if their personal space is invaded, so it is advisable to be careful when putting these types of collars on them.
Elizabethan collars for cats are usually placed on them while they are still asleep if they are going to be used for surgery, as this allows them to gradually get used to their use, which reduces the degree of resistance they will present to their use.
If you want to make the cat collar at home, you can use materials such as a plastic bottle , for example. Below I will explain one way to do it;
Step 1.- Clean and cut a plastic bottle
You will need a clean plastic bottle of at least 2 liters . Cut off both the top and bottom, leaving the middle section of the bottle to make the necklace.
Step 2.- Form a cone with the bottle
We make a longitudinal cut so that the shape of a cone can be created.
Step 3.- Take the measurements of the cat's neck for the circumference of the cone
The feline's neck is measured in this case so that the hole allows its head to pass through.
Step 4.- Use staples to seal the collar edges
Once the size is properly established, staples can be added and it will be ready.
Step 5.- Decorate the necklace to your liking
Finally, you can decorate it according to your taste , painting it or covering it with fabric to prevent it from harming the cat's skin.
It all comes down to the creativity, style, and variety you want for your pet's collar. To learn how to do this and other things, I invite you to continue enjoying the content of this, your website.
Table of Contents
- 1 Step 1.- Gather all the materials you will need
- 2 Step 2.- Take the measurements of your pet's neck for the collar
- 3 Step 3.- Transfer these measurements to the cardboard or cardboard
- 4 Step 4.- Leave a few centimeters more than the original size
- 5 Step 5.- Cut the cardboard in the shape of a donut or ring
- 6 Step 6.- Cut the ends and join them in a cone shape to make the necklace
- 7 Step 7.- Join the ends with adhesive tape
- 8 Step 8.- Cut the edges of the Elizabethan collar for the comfort of the pets
- 9 How to Make a Dog Collar?
- 9.1 The materials to use;
- 9.2 Step 1.- Choose a resistant material to make the necklace
- 9.3 Step 2.- X-ray plates are an excellent option
- 9.4 Step 3.- Take the measurements of the dog and transfer them to the selected material
- 9.5 Step 4.- Cut in the shape of a ring and form a cone-shaped necklace
- 9.6 Step 5.- Seal the edges with tape or glue
- 9.7 Step 6.- Cover the edges of the necklace
- 10 How to Make a Collar for Cats?